Addressing the Menace: An Essential Guide to Fixing a Roof Leak
Fix a Roof Leak: Raindrops dancing on your rooftop might be a soothing melody, but not when they start seeping into your home. The very thought of a leaking roof can be quite distressing, leading to not just property damage but also potential health risks due to mold growth. However, with a little knowledge, some tools, and elbow grease, you can transform this worrying situation into a manageable one.
Identifying the Leak
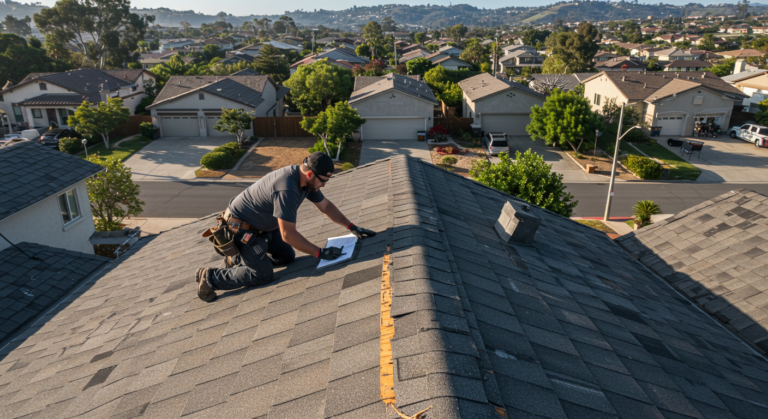
First and foremost, the real challenge lies in pinpointing the exact source of the leak. Remember, where you see the water dripping inside your house may not necessarily be directly below the source of the leak. Water tends to travel along roof panels or rafters before it drops onto your ceiling or floor. So, start by inspecting your attic, if you have one, using a flashlight to spot water stains, mold, or black marks. In case you do not have an attic, or if the inspection did not yield any clues, the next step is to go to the roof.
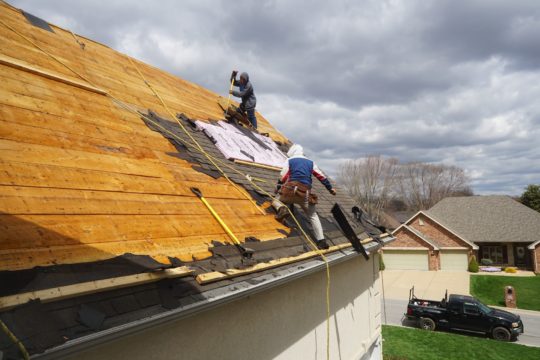
However, proceed with caution when you decide to step onto your roof. Consider doing it with a partner and take necessary precautions to avoid any accidents. Try to look for missing, damaged, or aged shingles, or any cracked flashing around the chimney or vent pipes.
Fixing the Leak
Once you’ve identified the source of the leak, it’s time to fix it. Here’s how to do it based on the most common types of roof leaks:
- Shingle Replacement: If you discover that the leak is due to damaged or missing shingles, your task is to replace them. For this, you’ll need a pry bar, hammer, roofing nails, and replacement shingles that match your current roof. Gently remove the damaged shingle with the pry bar, ensuring you do not damage the surrounding shingles. Once removed, slide the new shingle into place and secure it with roofing nails.
- Fixing Cracked Flashing: Flashing refers to thin pieces of metal installed under shingles and on the joints of your roof to create a water-resistant barrier. If the flashing is cracked, carefully remove the damaged pieces using a pry bar, and replace them with new ones. Secure them in place using roofing nails and apply a coat of roofing sealant for an added layer of protection.
- Sealing Small Holes: Small holes can appear in your roof over time due to various factors like weather and falling debris. These holes may seem insignificant but they can become a pathway for water into your home. Simply apply a generous amount of roofing sealant over these holes to prevent leaks.
Remember, if the leak is due to a complex issue, like a badly damaged roof, improper roof ventilation, or structural issues, it’s best to call in a professional roofer. Sometimes, an attempt to DIY can end up causing more harm than good.
Prevention is Key
Once you’ve managed to fix the leak, it’s essential to take preventive measures to avoid future leaks. Regularly clean your gutters to prevent water backup, inspect your roof periodically for any signs of damage, and trim overhanging tree branches to prevent them from falling onto your roof.
In conclusion, a roof leak may seem like an overwhelming problem, but with the right knowledge and tools, it is indeed a surmountable challenge. Remember, it’s crucial to act promptly at the first sign of a leak to prevent further damage and to maintain the comfort and safety of your home. And when in doubt, don’t hesitate to seek professional help to ensure that the job is done right.


